The shower room is basically one of the standard equipment of the bathroom. The shower room is usually installed in the bathroom of the general family. Due to the low cost of the shower room, the high frequency of use, and at the same time, it can provide a comfortable shower environment, which has become an indispensable part of life. Although people often use the shower room, many people do not know the installation steps of the shower room. So how is the shower room installed? What are the installation steps of the shower room?
Step 1 Preparation for shower room installation
The shower room needs to be prepared for installation tools before installation, such as tape measure, screwdriver, electric drill, percussion drill, etc. are indispensable. After the tools are fully equipped, the shower room can be installed. The most basic installation is the bottom basin device. The bottom basin of the shower room is used as the benchmark for the entire shower room. After confirming that the installation is complete, first assemble the components of the bottom basin, and then proceed step by step. Pay attention to the installation time To keep the bottom basin parallel to the ground, it is also necessary to ensure that the bottom basin has no water and is tightly inlaid with the ground. Then check the bottom basin to see if the water is flowing and whether it can flow out normally. It is necessary to ensure that the water in the shower room can flow into the sewer smoothly to ensure the effect of use.
Step 2 Installation of the shower room support frame
After the installation of the shower room bottom basin is completed, the entire shower room support frame is installed. You need to install a bracket around the bottom basin of the shower room to integrate it with the wall. When installing the bracket, use a ruler to determine the position of the hole on the wall according to the specific size of the bottom basin and the specific specifications, and mark with a pencil to complete the mark. After that, drill holes with a percussion drill, and then fix the aluminum strip connected to the wall to ensure tightness and waterproofness.
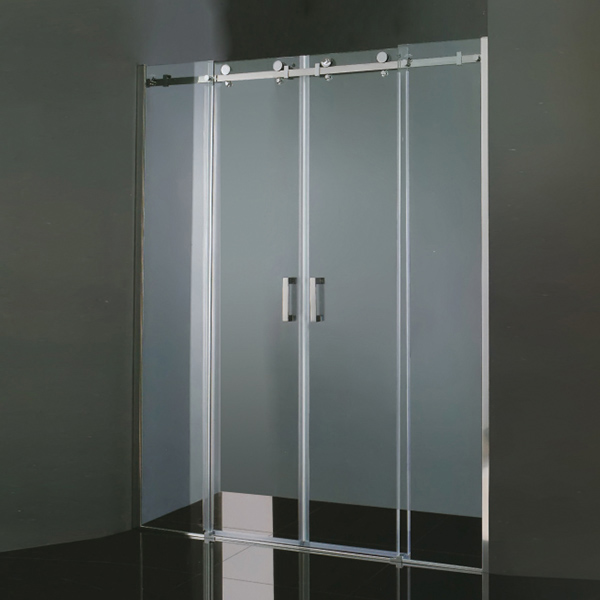
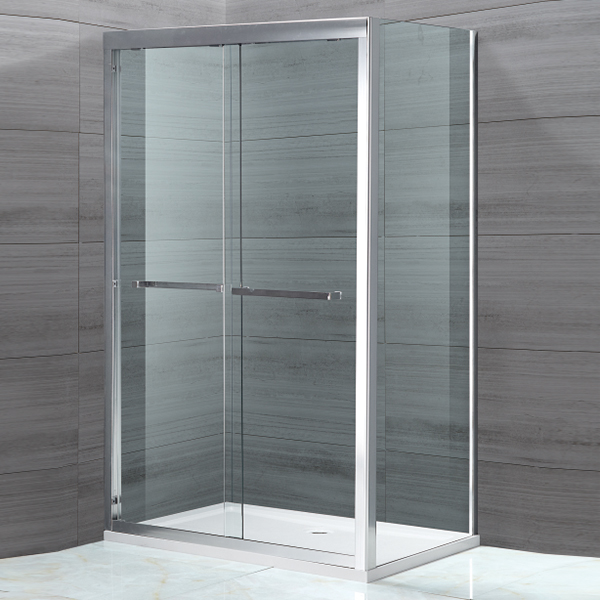
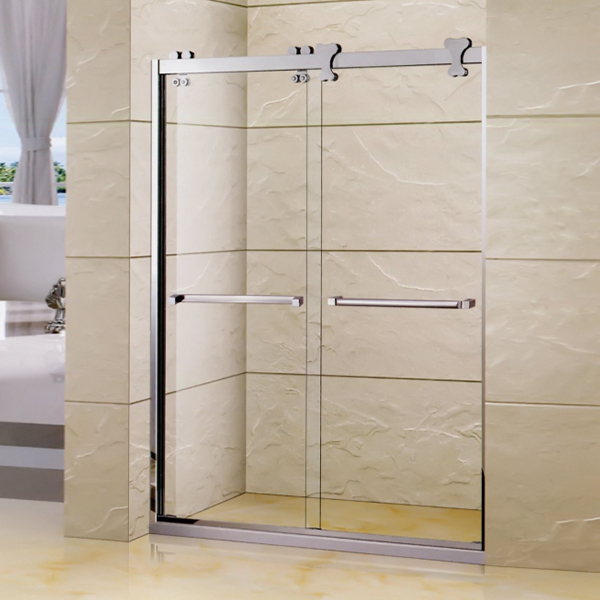
Step 3 Installation of shower room glass
After completing the basic operations of the first two parts, the next step is to install the glass. Slowly place the glass at the lock hole of the base basin, then place the glass accurately in the glass groove, and then push it to the wall joint, and lock it with screws to secure the glass. After the lower glass is placed, it is necessary to install the upper glass, fix the corresponding hole drill, and install the upper part with an elbow sleeve to make it more stable, and then install the internal shelf of the shower room and the movable glass door in turn Handle and other accessories, and tested to make it flexible switch.
Step 4 shower room inspection stage
The above steps have basically completed the basic indoor installation operation of the shower room, and the next step is to carry out the final waterproof facilities. Protect the place where the glass is in contact with the glass tank with a rubber strip to ensure that water does not leak from the glass door connection during the shower. Then check the installation parts of the shower room and the tightness of the parts again, test the usage and waterproof status of the shower room, and the shower room will be completed after completion.


 English
 简体中文
简体中文